
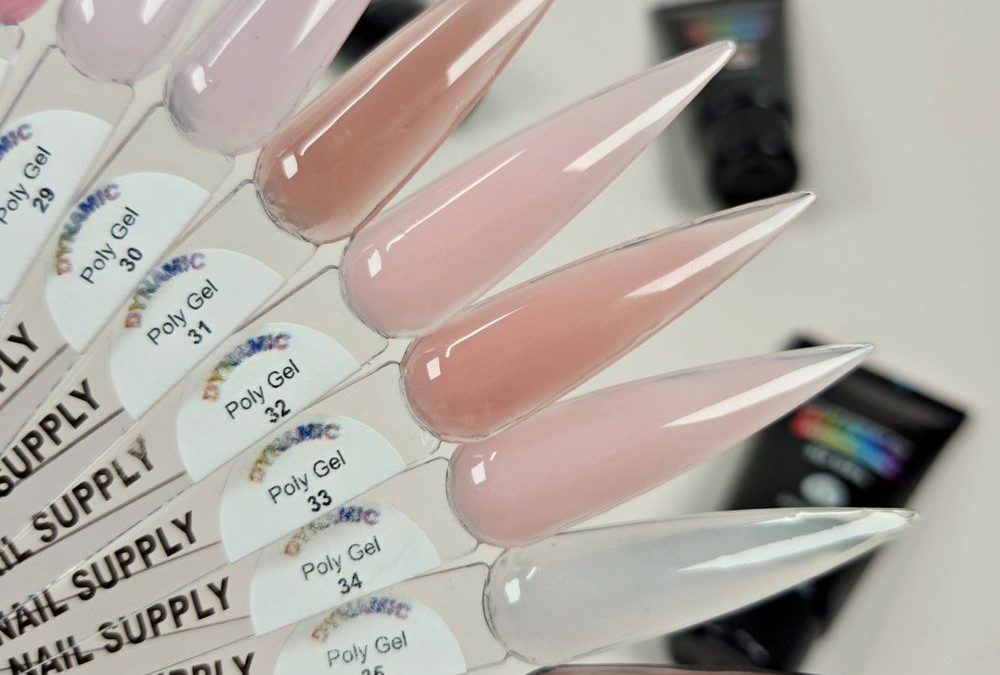
Problem: the client asks for a soft ombré and the product shows obvious transition lines. Question: how does a mobile tech get a natural blur from pale lilac to dusty rose on a sculpted extension without redoing the whole tip?
Start with the canvas—prep that supports blending
Why prep at all? Because a smooth, thin natural nail surface makes every layer behave predictably. What should be done? Lightly dehydrate, push cuticles, and buff the natural plate to remove gloss without over-thinning. How thin should the first poly gel base be? Thin enough to keep adhesion but not so thin the sculpted form shows through.
Quick specs
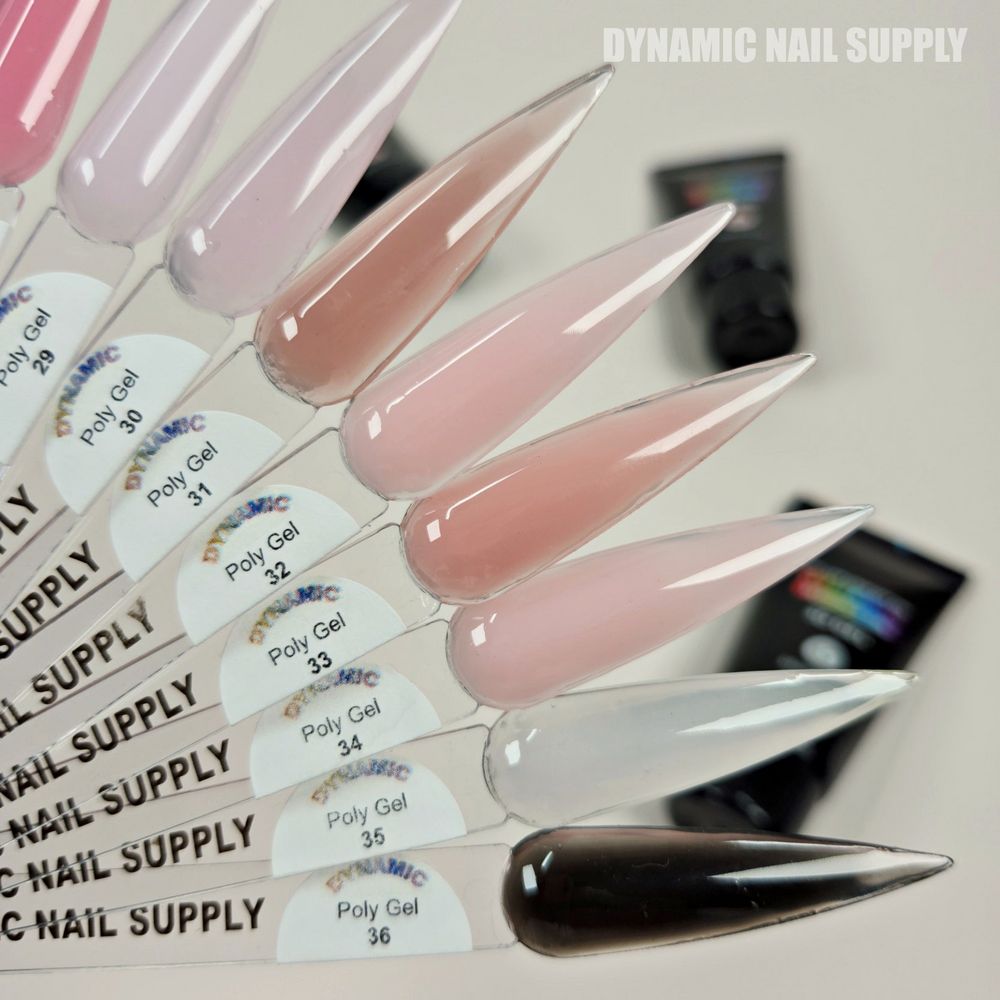
- Product: Poly Gel for Building or Sculpting Nails – Color 25 to 36
- Format: 15g tube, 12 color options (numbers 25–36)
- Finish: high-gloss creamy semi-sheer cremes, no shimmer
- Curing: LED/UV lamp compatible; low heat sensation
- Price: $6 per tube (price may change)
Which shades to place and why
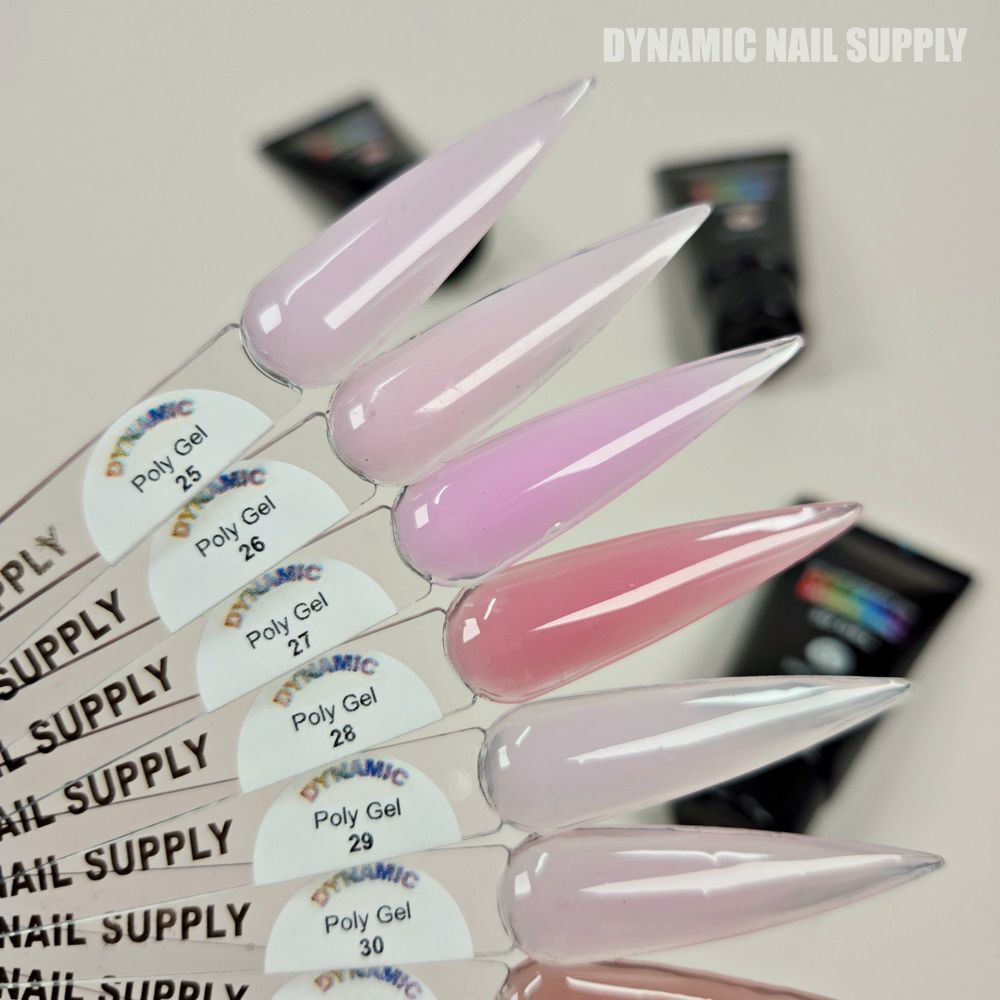
Which shades create the invisible gradient? Start at the free edge with the palest lilac swatch and move inward through soft lavender, cool pink-lilac, and muted rose tones, ending toward the cuticle with warm nude beige or dusty rose depending on the client’s skin tone. How much opacity is useful? The semi-sheer nature of these cremes lets layers visually mingle—so use thin layers that overlap rather than opaque blocks.
Use this short lead-in to the product listing and tools needed:
Technique: sculpted extension workflow for a seamless fade
Question: how to lay down product without visible steps? Answer: build the extension in controlled stages. Stage one: form and apex. Place a bead of a neutral shade near the apex, place and sculpt the structure, and cure. Stage two: mapping the gradient. Put tiny beads of pale lilac (#25 area) at the free edge and small beads of dusty rose nearer the apex; don’t spread them fully.
How to blend once beads are placed? Use a small flat spatula or a brush with the manufacturer-recommended slip solution. Lightly pat and pull the edges between colors in one soft motion — think feathering not smearing. When should you cure? Pinch the shape if needed and then fully cure under LED/UV. Why cure after light blending? A short final pass locks the transition so the next layer sits predictably.
Layering, filing, and softening the seams
Is one layer usually enough? No. Build two ultra-thin color layers where the second layer slightly overlaps the first to deepen the blend. Where do you file? After full curing, refine sidewalls and apex with minimal filing—use fine grit to preserve the semi-sheer finish. How to soften any remaining visible lines? Apply a superfine dusting with a buffer followed by a translucent thin finish coat before the final cure.
Special attention: Poly Gel #25
Why single out #25? Because the palest lilac in this set is the primary ghost tone at the free edge that reads delicate and ethereal. How is it used? As the leading edge of the ombré it should be applied in whisper-thin beads and blended inward, never as a full opaque slab. What look does it create? It preserves a cool, pastel highlight that makes the dusty rose appear warmer by contrast.
Finish, aftercare, and safety notes
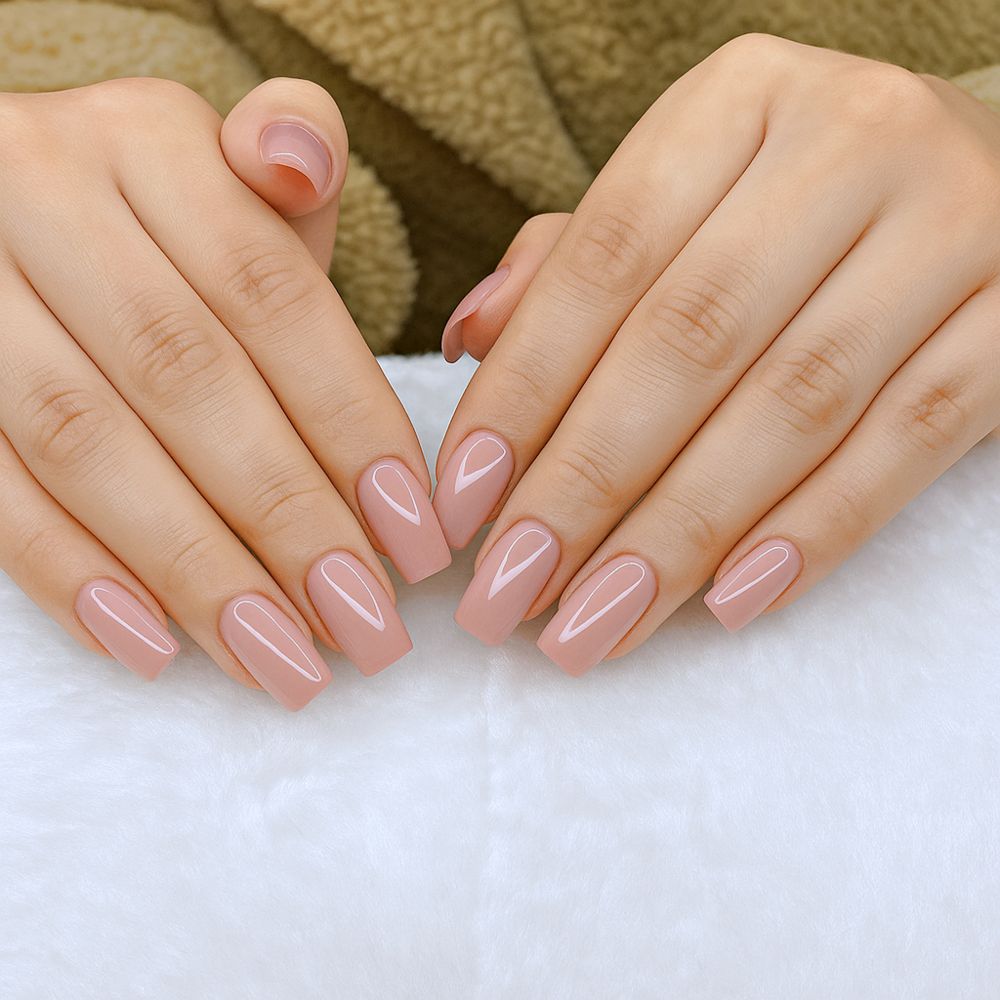
How to finish for lasting shine? Use a high-gloss top coat compatible with cured poly gel and perform a final full cure. What aftercare should the tech advise? Recommend avoiding harsh solvents and suggest gentle cuticle oil after 24 hours. Any safety cautions? Keep product tubes capped to avoid contamination and follow lamp curing times recommended for each lamp model.
Final verdict: a soft lilac to dusty rose ombré on sculpted extensions is repeatable when the tech controls layer thickness, uses the semi-sheer color family in this set, and blends with restrained feathering rather than heavy opacity—resulting in a salon-fresh gradient that reads natural and elegant.