
Introduction
If you want to start doing acrylic nails at home, a compact starter set can simplify the learning curve. This guide breaks down what to expect from a complete beginner acrylic nail kit, describes how to use its components, and offers practical tips to help you create clean results. Read on to understand included tools, mixing ratios, ideal uses, and realistic limitations.
What’s included in the kit
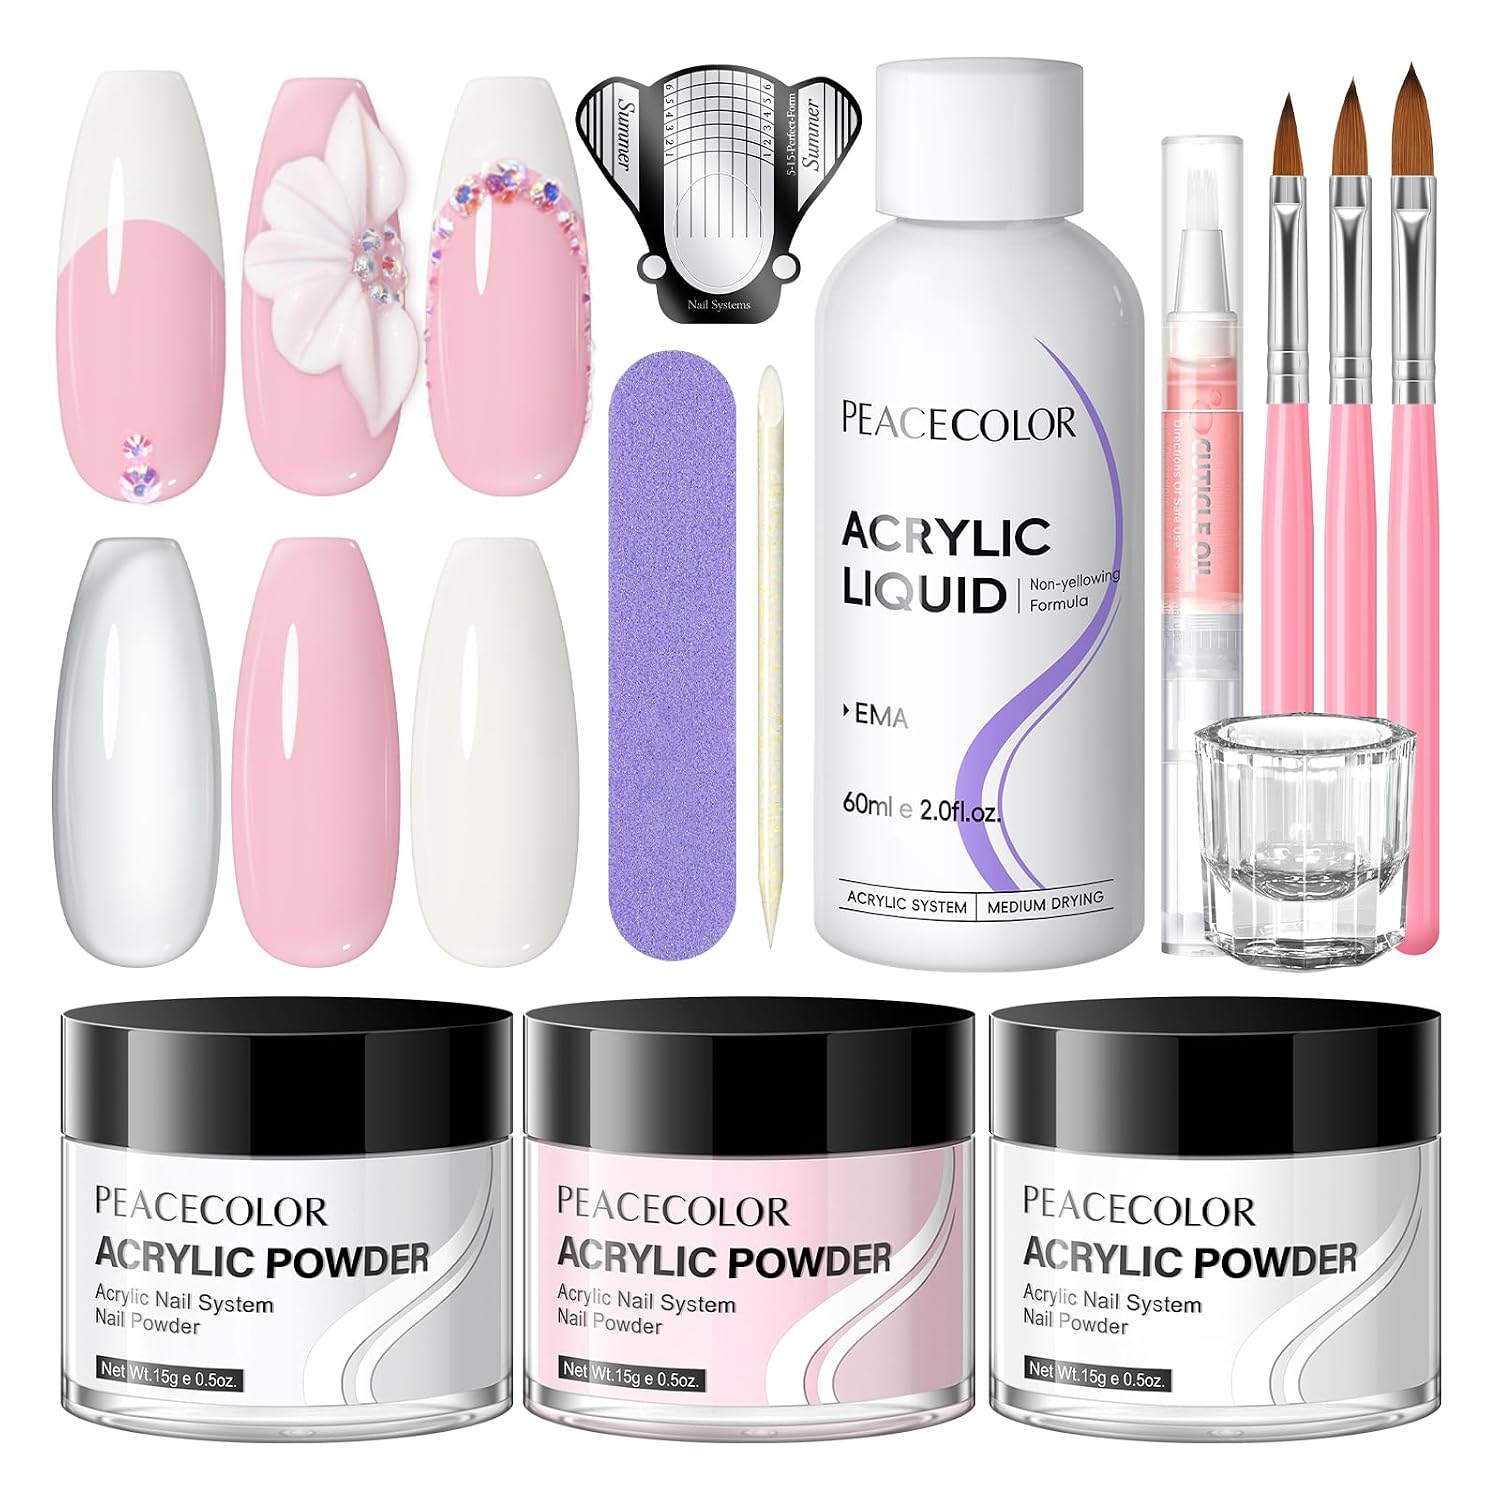
A typical beginner acrylic nail kit contains the core items needed for basic acrylic work. In this case, the kit provides three 15g jars of acrylic powder in clear, white and pink shades, plus one 60ml bottle of acrylic liquid. Tools supplied include three different acrylic brushes, nail files, nail forms, a small glass mixing cup, a cuticle oil pen and several additional nail tools to assist application and finishing.
Why these items matter
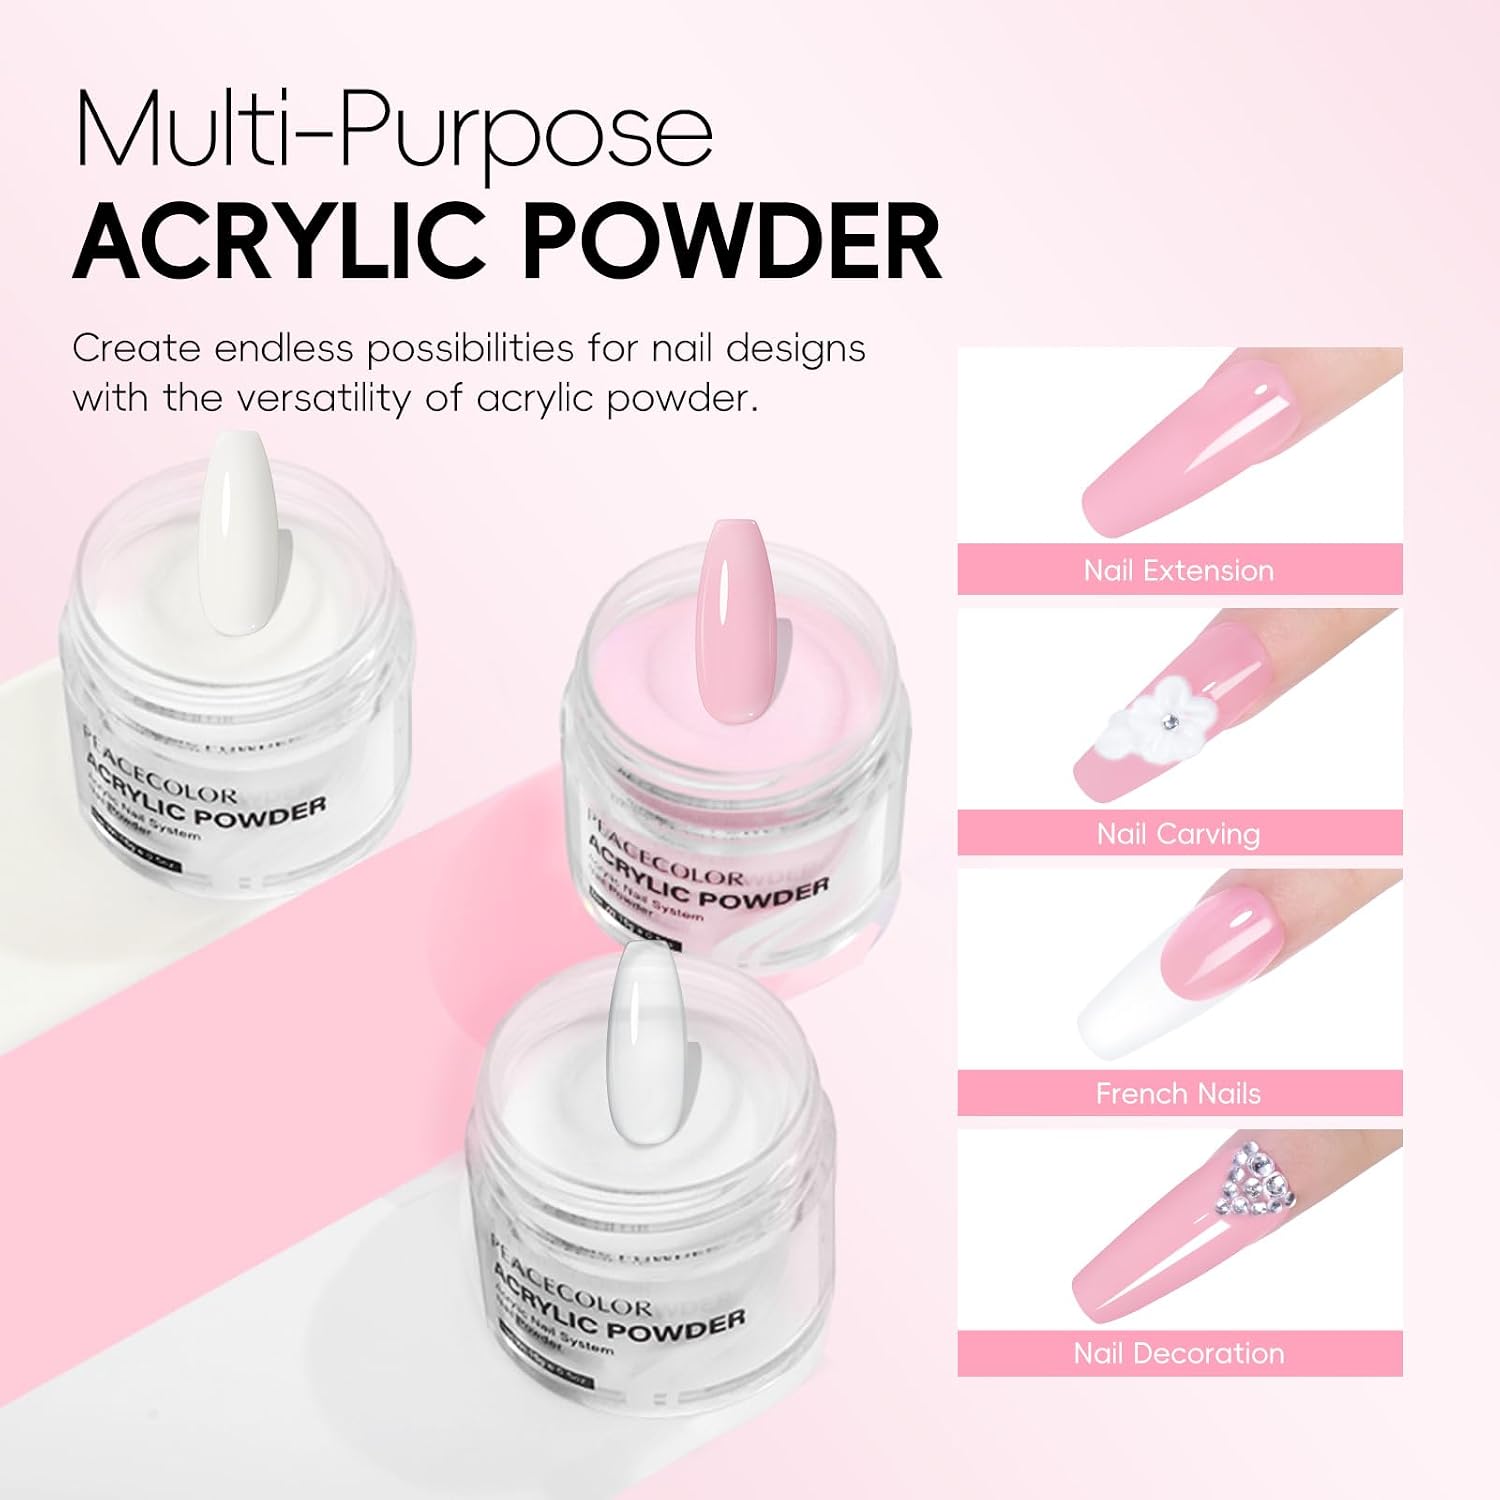
- Three powder colors let you do full-coverage looks, French tips and subtle overlays without buying extra pigments.
- 60ml liquid is the monomer used to bind powder into an acrylic bead for sculpting and extensions.
- Multiple brushes support different techniques: small brushes for detail, broader ones for sculpting larger areas.
- Forms and files help shape extensions and refine edges after the acrylic cures.
Key features in context
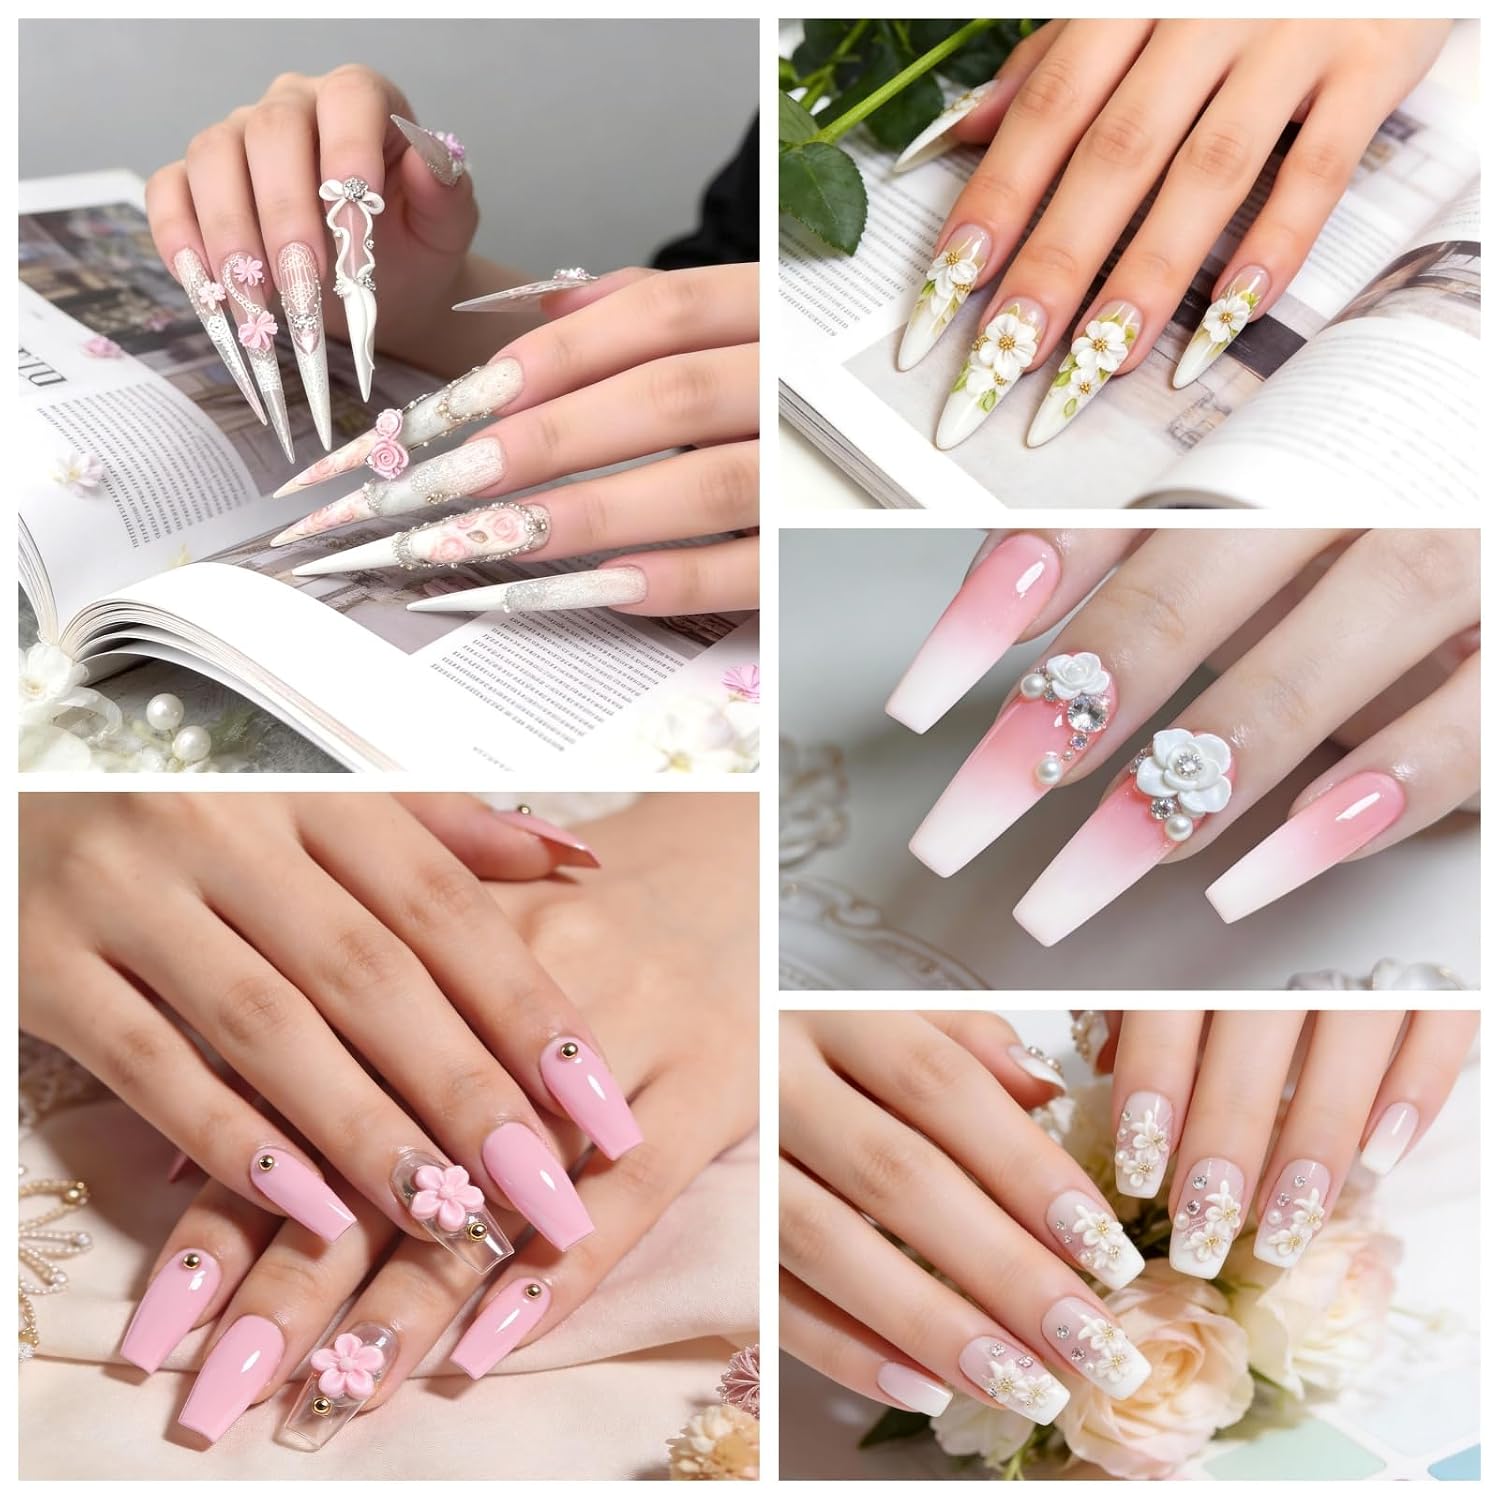
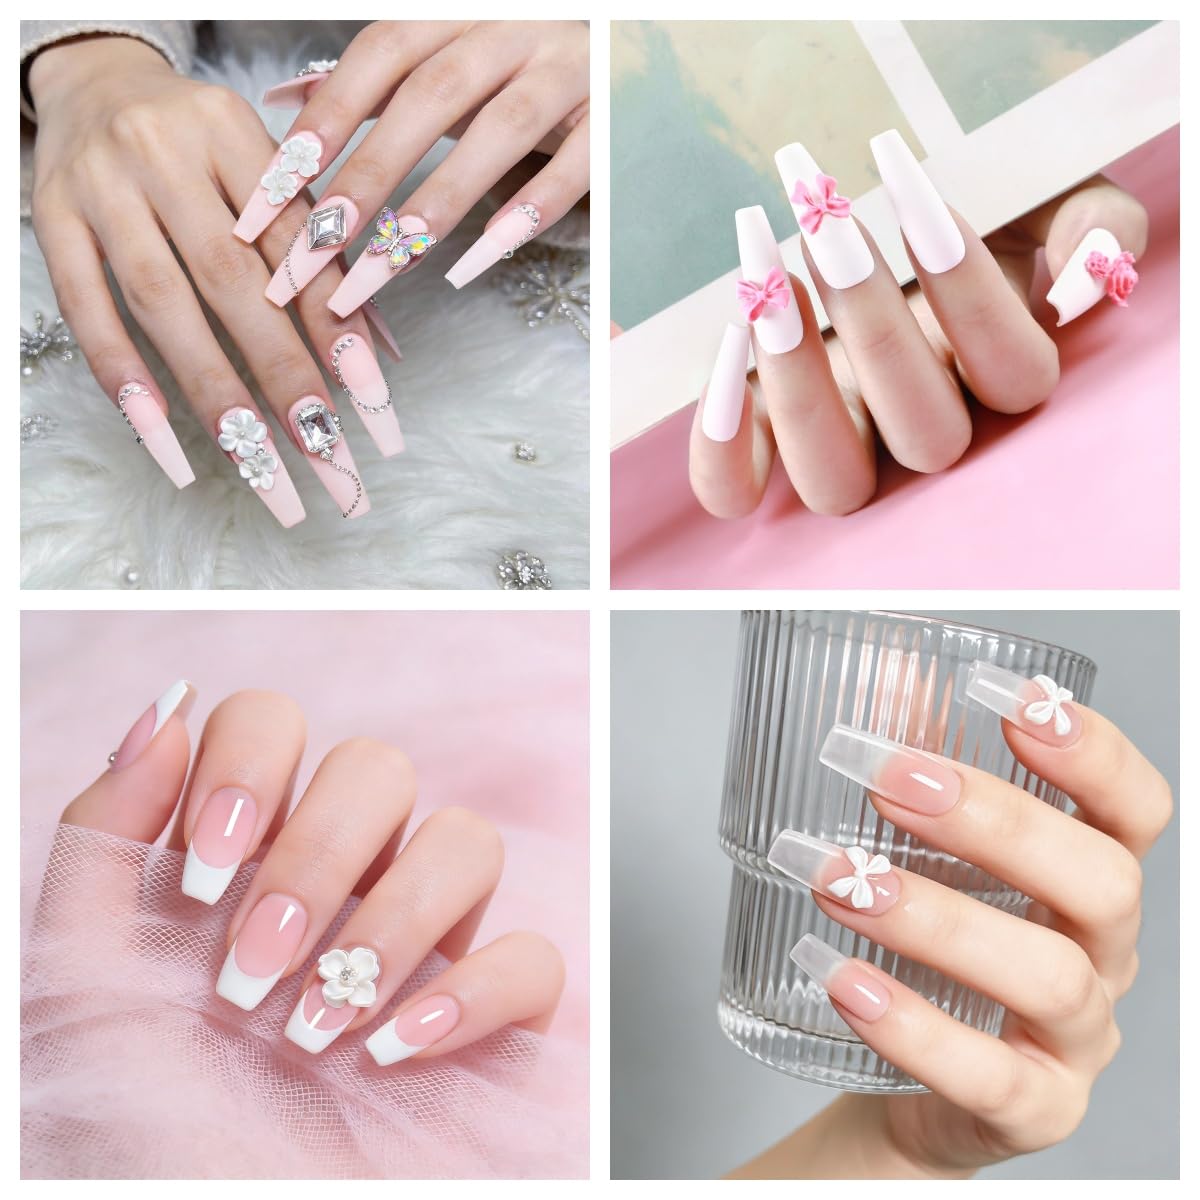
The powders are marketed for several uses: 3D carving, nail extension, French manicures and attachment of rhinestones. The formula is described as having good self-leveling and adhesion when combined with the liquid. One convenient benefit is no need for a UV lamp; the system air-dries, with an expected cure time around 5–8 minutes per application.
Mixing and working properties
- Mix ratio — Follow a 1.5 : 1 acrylic liquid to powder ratio when forming beads. This is the suggested starting point for workable consistency.
- Air-dry cure — Acrylics in this kit set without UV exposure and should form a protective layer as they dry.
- Longevity — With proper prep and application, the kit is described as producing nails that can last 3+ weeks.
Step-by-step: Basic application workflow
Below is a concise sequence for beginners using the items provided. Adjust steps as your comfort and skill improve.
- Prep — File, buff and clean natural nails to remove shine and oils so the acrylic adheres properly.
- Form placement — Attach a nail form or use tips depending on the extension method you prefer.
- Mixing — Pour a small amount of acrylic liquid into the glass cup. Dip your brush into liquid, then into powder to create an acrylic bead. Aim for a 1.5 : 1 liquid-to-powder balance for most beads.
- Sculpting — Apply the acrylic bead to the nail or form and shape with the brush. Work efficiently; beads will begin to set as they curve into place.
- Curing — Allow the acrylic to air-dry; the expected setting window is approximately 5–8 minutes after application.
- Finish — File and buff to refine length and surface texture. Add topcoat or nail art elements as desired and use the cuticle oil pen to hydrate surrounding skin.
Tips for longer wear
- Surface prep is essential — Proper filing and cleaning before any acrylic step promotes adhesion and reduces lifting.
- Consistent bead size — Work with uniform acrylic beads for even curing and strength along each nail.
- Edge sealing — Ensure free edges are covered and smoothed to minimize peeling.
- Avoid rushing — Give each layer time to set before filing or adding more product.
Who this kit is best for
This compact starter kit is aimed at beginners and home users exploring acrylic nails. The included color selection supports common looks like natural overlays and French tips. It is suitable as an introductory set for someone learning technique or for gifting to a new hobbyist.
Limitations to consider
While the kit contains essential tools, there are practical limits to what it supplies. Each powder jar is 15g and the liquid bottle is 60ml, quantities that may be modest for frequent salon-level work or for creating many extensions. Advanced artists may want specialized powders, additional liquids, or a wider variety of brushes and finishing products. The set’s air-dry system removes the need for a lamp but may not match the workflow of UV/LED-cured gel systems.
Safety and care notes
Follow basic product handling and nail prepping steps included here. Because proper nail prep is emphasized by the kit, take time to file and clean nails before applying any acrylic. Use the recommended mixing ratio of 1.5 : 1 as a guideline to achieve manageable bead consistency. Keep tools and containers clean between uses to maintain performance and hygiene.
Packaging and gift suitability
The kit is presented with a fashion-style package and is positioned as a suitable gift for beginners or friends and family who want to try acrylic nails at home. The three classic powder colors are intended to cover everyday looks, special occasions and simple nail art.
Conclusion
For someone starting out, a beginner acrylic nail kit that includes three color powders, a 60ml liquid, brushes and forms provides most of what you need to learn core acrylic techniques. It emphasizes straightforward application, a 1.5 : 1 mixing guideline, air-dry curing in about 5–8 minutes, and recommended nail preparation for best results. The listed price at the time of writing is USD 7.99; prices may change. Consider this kit a practical entry point if you want to practice acrylic sculpting, French manicures or small nail art at home, while keeping in mind the modest supply sizes if you plan heavy or professional use.